Every dashboard in My2Cloud is yours to arrange. Turn on Edit mode to add widgets, move and resize them, organise them into tabs (pages), and save your own layout. This guide shows how.
Which dashboards. The same tools work on My Dashboard, the live service dashboards, the usage/analytics dashboards and (for administrators) the Host and Tenant Usage dashboards. Your changes only affect your own view.
1. Turn on Edit mode
Look at the top-right of the dashboard header. If you are allowed to customise it, you will see an Edit mode switch (next to the Filter button, where the dashboard supports filters). Flip it on.

the Edit mode switch in the dashboard header, shown turned on.
When Edit mode is on, a floating toolbar appears at the bottom of the page, and each widget gains a small red × button in its corner. Widgets can now be dragged and resized; guide lines appear while you do.
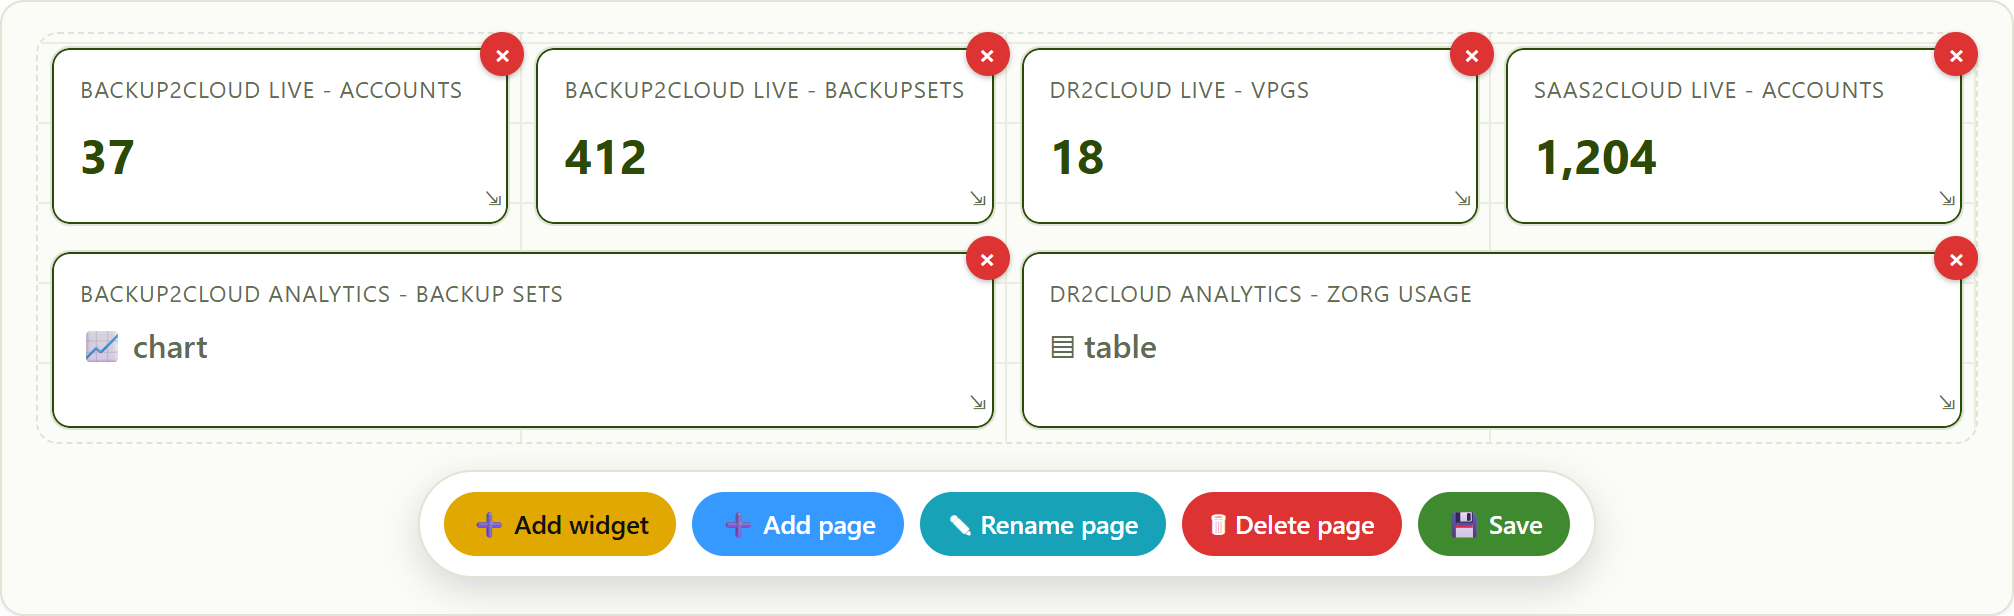
Edit mode. Grid lines, per-widget delete buttons, and the floating toolbar.
2. Add a widget
- Click Add widget (the amber button).
- In the Add widget dialog, pick a widget from the drop-down list. Only widgets you do not already have on this page, and that your account is permitted to see, are listed.
- Click Save. The widget appears at its default size; drag and resize it where you want.
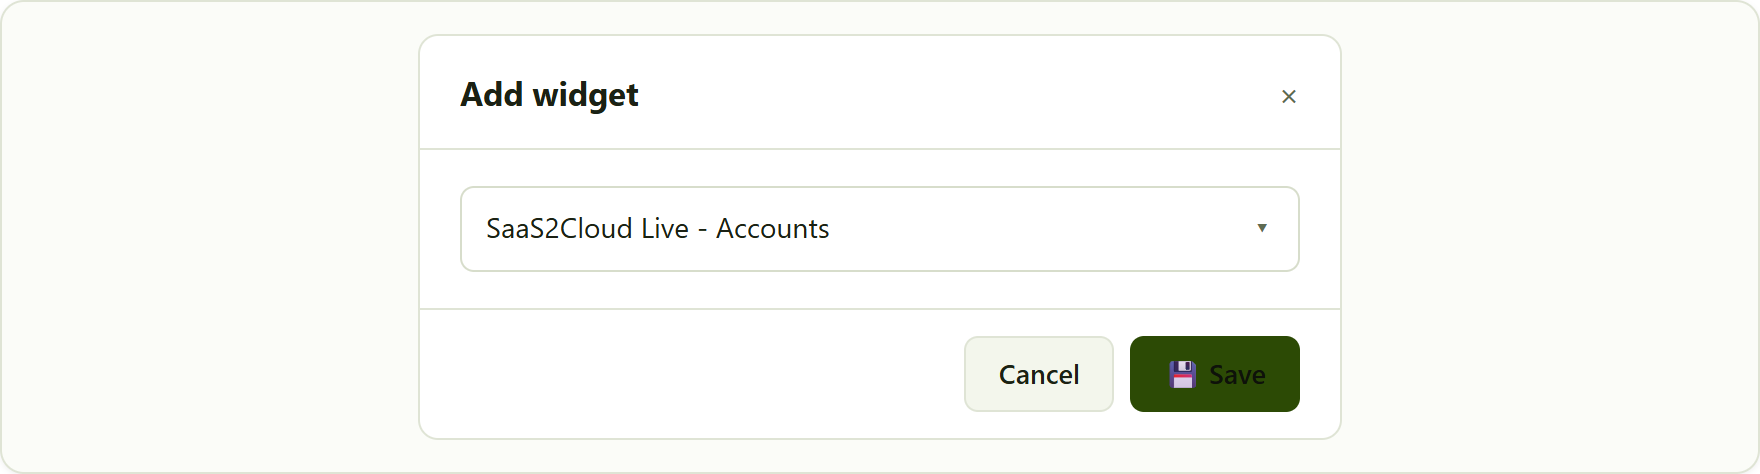
the Add widget dialog is a simple drop-down of the widgets available to you.
What widgets are there? Widgets are named as Service - Type - Metric, for example "Backup2Cloud Live - Accounts", "DR2Cloud Analytics - Average RPO", "Support - Chart - Tickets" or "Billing - Stat - Overdue Invoices". Live widgets show current figures; Analytics widgets show trends over your selected date range. If the list says No widget available!, every widget you are permitted to see is already on the page.
3. Move and resize widgets
While Edit mode is on:
- Move - drag a widget by its body to a new position. Others shuffle out of the way.
- Resize - drag the handle at the bottom-right corner. Widgets snap to a tidy grid.
- Remove - click the red × on a widget and confirm. (Removing a widget saves the layout straight away.)
Outside Edit mode the layout is locked, so you cannot nudge a widget by accident.
4. Organise widgets into tabs (pages)
A dashboard can have several tabs, each its own page of widgets - handy for separating, say, a "Live" tab from a "Trends" tab.
- Add page - opens a small box; type a Name of new page and click Save.
- Rename page - opens a box pre-filled with the current name; edit it and Save.
- Delete page - removes the current tab after you confirm.
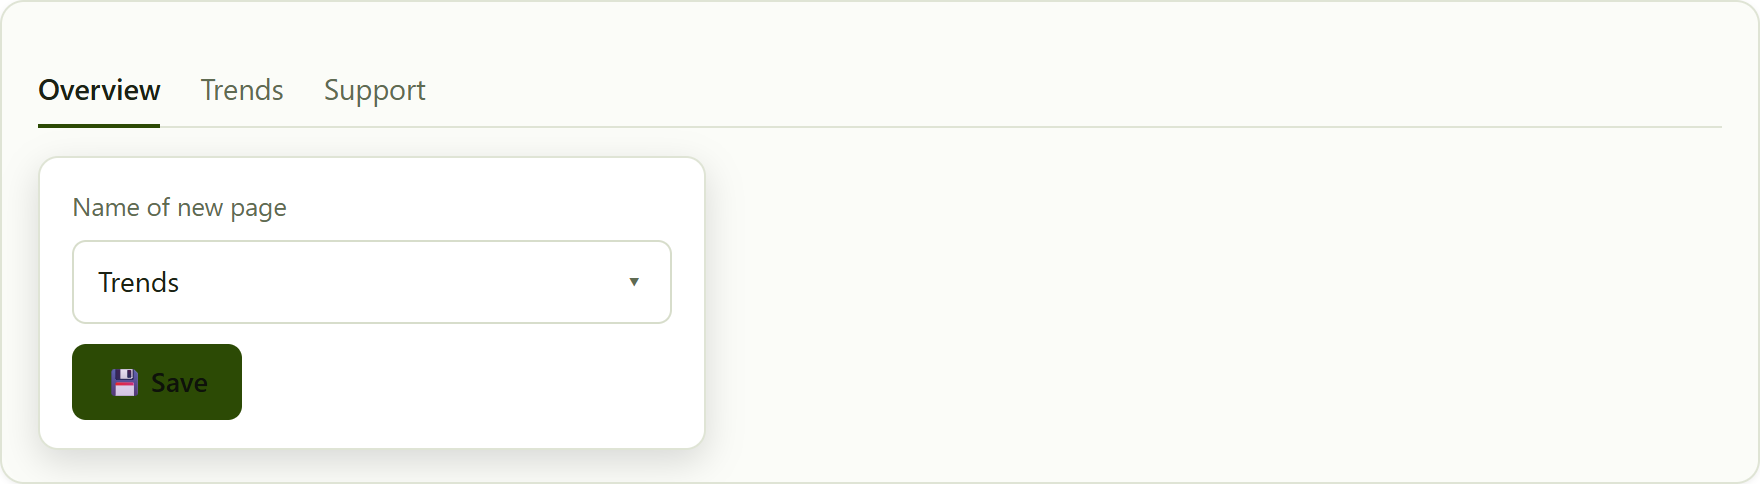
dashboard tabs, and the "Add page" box for naming a new tab.
5. Save your layout
When you are happy, click the green Save button in the toolbar. Your positions, sizes and pages are stored against your account and Edit mode switches off. You will see "Saved successfully."
6. Go back to the default layout
There is no separate "reset" button. To return a dashboard to the standard layout, delete your custom pages: when only one page is left, the delete button changes to Back To Default. Click it and confirm "Are you sure to remove … page and back to default?" - the dashboard reverts to the built-in default layout for that view.
After a portal update. If a new version ships an improved default dashboard, using Back To Default is how you pick it up. If your menu or dashboard ever looks broken right after an update, that is usually a browser cache issue - see the "My menu or dashboard looks broken after an update" article.
Troubleshooting
- No Edit mode switch - your role does not include dashboard-edit permission. Ask an administrator if you need it.
- Add widget is greyed out - you have no page selected; add or select a page first.
- "There is no page defined for this dashboard" - switch on Edit mode and click Add page to create one.
- A widget shows no data - check the dashboard's Filter (date range and any account/company pickers) and that the related service is enabled for you.
Was this article helpful?
That’s Great!
Thank you for your feedback
Sorry! We couldn't be helpful
Thank you for your feedback
Feedback sent
We appreciate your effort and will try to fix the article