To link your AzureAD for authtication within your mycloudVDC tenant you must setup SAML.

Setting up Azure AD
Adding an Enterprise application
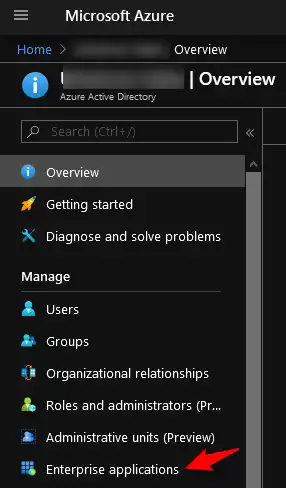
Login to your AzureAD portal and go to “Azure Active Directory‘” and select “Enterprise applications“.
Click on “New application” and select “Create your own application”.

Give the application a name and click on “Create” to add the application.

In the new window that opens you will have to complete a couple of additional steps.
Adding users and or groups
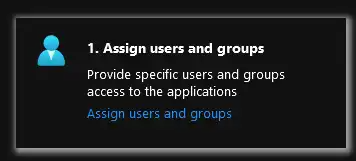
First add the user/s that will be able to login to mycloudVDC, add the user/s by clicking on “Assing users and groups”.
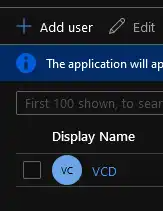
And Add the user/s
Setting up Single sign on
Next setup Single sign on.

Select “SAML” to actually start the SAML configuration.
In the newly opened setup page add the metadata information from mycloudVDC. This information is something that I can find in mycloudVDC portal - Administration –> Identity providers –> SAML

To download the Metadata click on the Metadate link (note. your browser may warn you the download is dangerous, however this warning can be ignored).
Now go back to the Azure portal and upload the Metadata information that was just downloaded.

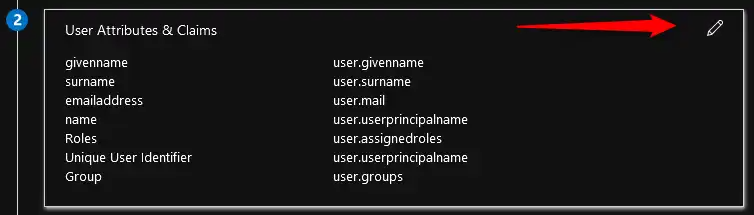
Click on “Add new claim” and add the “user.assignedroles” claim

Fill in the “Name” for the claim: Roles
Fill in the “Namespace” for the claim: http://schemas.xmlsoap.org/ws/2005/05/RolesSelect the user.assignedroles from the drop down menu for Source attribute and click “Save“
Next up is user.email (this will be the second user.email claim).
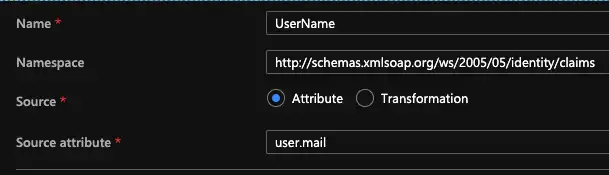
Fill in the “Name” for the claim: Username
Fill in the “Namespace” for the claim: http://schemas.xmlsoap.org/ws/2005/05/identity/claims/UserNameSelect the user.mail from the drop down menu for “Source attribute” and click “Save“
And finally add a “Group claim“.

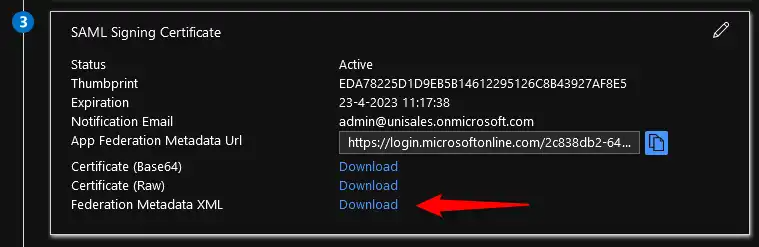
Next download the Azure AD metadata and import it into mycloudVDC.
To do so go back to the “SIngle Sign on with SAML” by clicking on the link in Azure.

Now download the “Federation Metadata XML” file.
Setting up mycloudVDC
With the AzureAD now configured, the next step is to link your mycloudVDC portal to the newly created Enterprise App in your AzureAD.
To do this go back to the SAML configuration page visited earlier and upload the metadata file just downloaded from your AzureAD.

Click Edit to open the SAML Configuration modal and go to the Identity Provider Tab.

Enable Use SAML Identity Provider, click Browse and upload the downloaded AzureAD metadata and then Save
You can now add your AzureAD Users by going to “Users” and select “Import Users“

Add the user/s to the list you wih to import from AzureAd ensuring you select an appropiate role for them.

Was this article helpful?
That’s Great!
Thank you for your feedback
Sorry! We couldn't be helpful
Thank you for your feedback
Feedback sent
We appreciate your effort and will try to fix the article